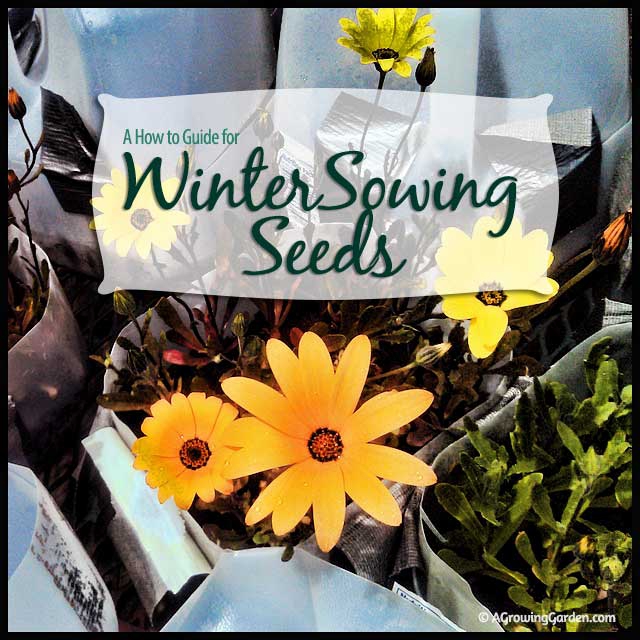
A few years ago I came across the idea of "winter sowing" and was intrigued. I gave it a try and was hooked!
What is Winter Sowing?
Winter sowing is the process of planting seeds in plastic containers, putting the containers outside for the winter and forgetting about them until the seedlings emerge in the spring. Yes, it really is that easy! Seriously, Trudi Davidoff (the brilliant person who came up with the idea) should be given a big gold star. A really big one!
The idea is that the plastic containers act like mini greenhouses and protect the seeds from any super harsh winter weather while the cold hardens the seeds up quite a bit and makes them stronger plants too. It's like tough love for the seeds. And it works! Many people have much better germination rates with winter sowing than starting the seeds indoors.
Winter sowing also frees up a lot of seed starting space in the house. I try to start as many plants from seed each year as possible, but, since I don't (yet!) have a greenhouse, my indoor seed starting space is somewhat limited. Winter sowing allows me to start even more plants from seed (YEA! More Plants! More Plants!) without turning my house into even more of a crazy place than it already is. Seriously, with the amount of plants I start from seed indoors each spring, the only thing that might make me look crazier is if I had 30 cats.
Winter sowing to the rescue!
How to Winter Sow Seeds:
Materials Needed:
- Food grade plastic container(s)
- Scissors and/or a sharp knife
- Duct tape
- Sharpie or other weather resistant marker
- Seed starting mix
- Seeds
Winter Sowing Step by Step
1. Collect your plastic containers & clean them well. I prefer to use 1 gallon plastic milk jugs, but you can use just about any plastic container you'd like: 2 liter soda bottles, large oil containers, hinged food containers with lids, or any other food grade plastic container you have. (Don't worry about the lids or caps on the jugs or bottles - we won't be using those, so you can discard them.)
I'll be showing the steps using a 1 gallon milk jug, but the idea is the same with other plastic containers.
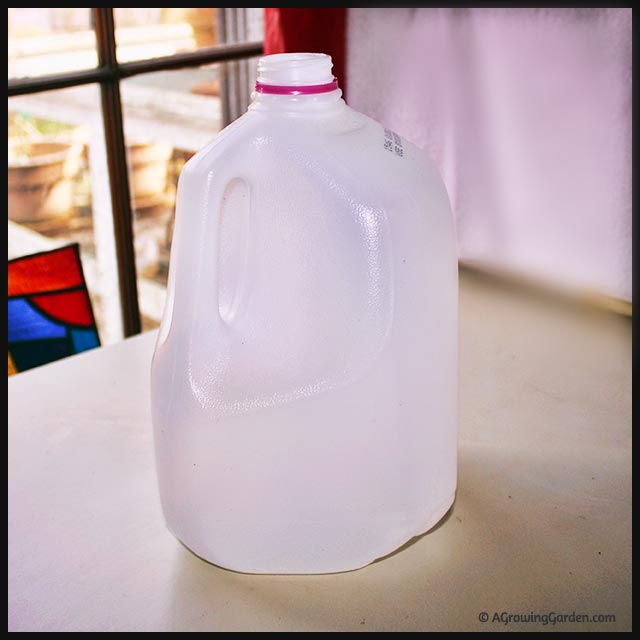
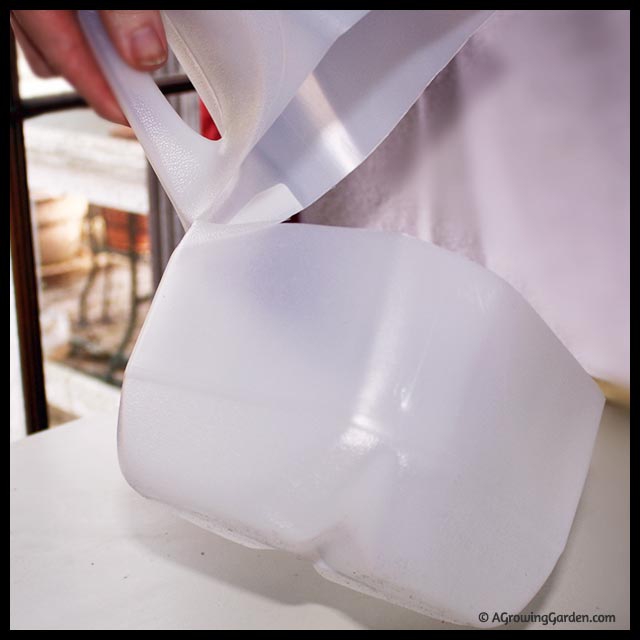
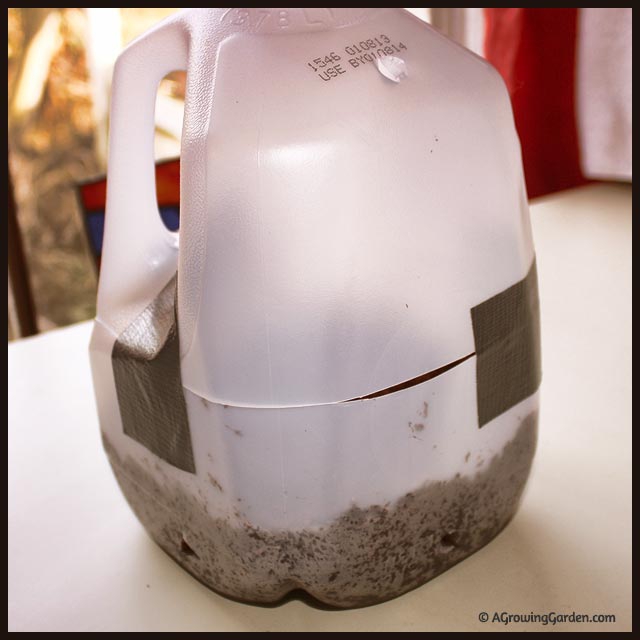
2. Cut the jug or bottle ALMOST the whole way around using scissors or a sharp knife. I cut mine just about an inch or so under the jug handle. But don't cut the whole top off!
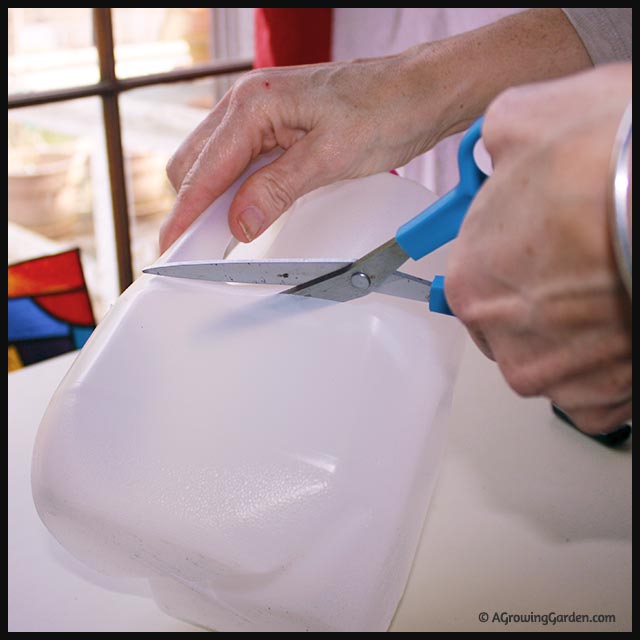
The idea here is to create a hinged lid, so leave an inch or 2 right below the handle connected to the bottom of the container. This will create a hinged lid that you can use in the spring to further aerate the seedlings & to help regulate the temperature.
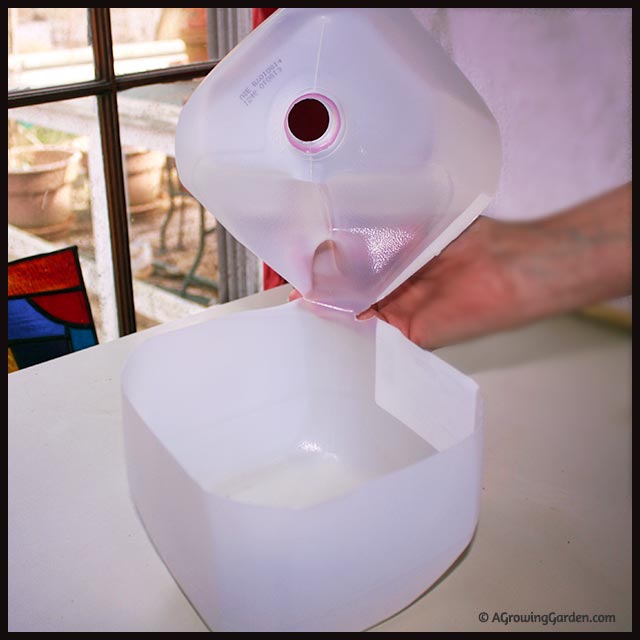
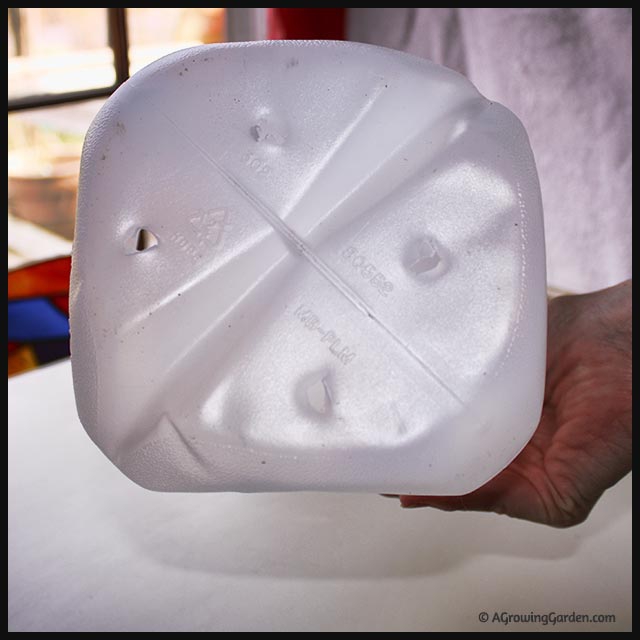
3. Create drainage holes. Poke some holes for drainage into the bottom and sides of the container. I use scissors for this, but a screwdriver would work too. Drainage is really important for the seedlings, so be sure to create enough holes. I made 4 large holes in the bottom of the container, 3 or 4 holes along the sides of the bottom part of the container, and another 2 or 3 on the sides of the top part of the container.
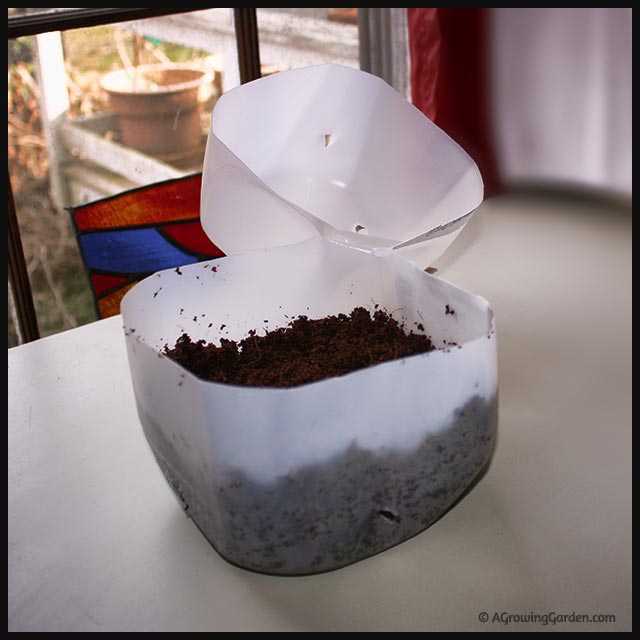
4. Add a few inches of seed starting mix to the bottom of the container (2+ inches is a good amount). Water the seed starting mix and let it drain.
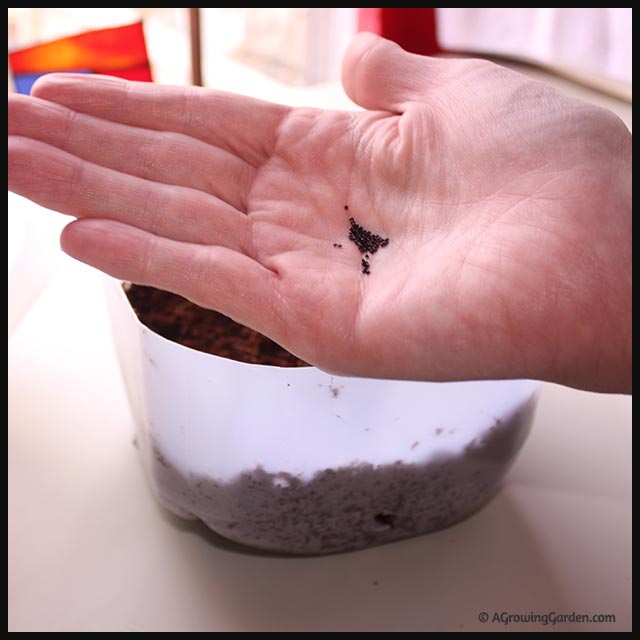
5. Plant your seeds in the same way you would when starting them in flats. If unsure, follow the directions on the seed packets for the correct depth and spacing.
6. Close the hinged lid and secure it with tape. You don't need to place the tape completely around the cut opening, but be sure to add enough tape to ensure that the lid doesn't blow open.
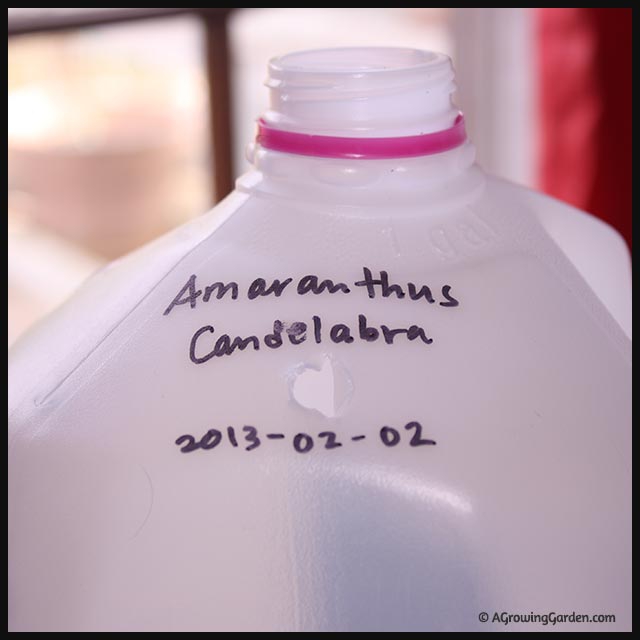
7. Label the container. Unless you want to be surprised in the spring, be sure to label the container with the type of seed you planted. I also include the date planted, although that isn't really necessary. Be sure to use a weather resistant marker if possible ... by the end of the spring, your labeling will fade and could be difficult (or impossible!) to read. You can also write the information onto another piece of tape and place it on the bottom of the container where it will be unlikely to fade from the sun.
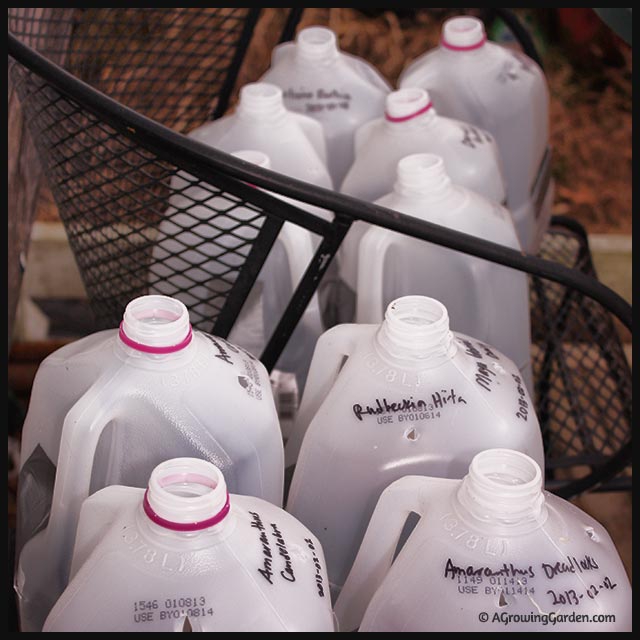
8. Place the containers outside for the winter and forget about them! I place mine on tables (and chairs) on our back deck, but you can pretty much put them anywhere outside other than on a covered porch or inside a shed or barn. It doesn't matter if they get rained on, or snowed on ... as a matter of fact, that is good for them. Don't worry -- they'll be fine! But be sure to place them somewhere where they'll be relatively safe from getting knocked or blown over and where you can get to them easily in the spring. Once they start sprouting you'll need to give them regular attention.
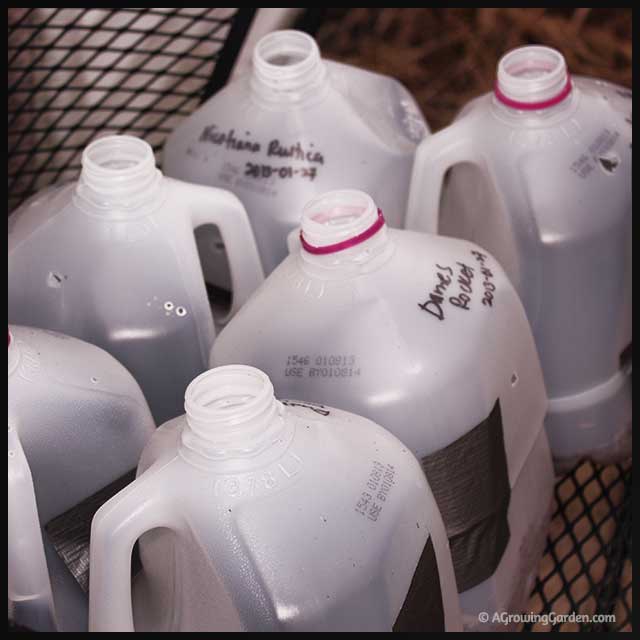
9. Once the weather starts to warm a bit, start checking on them. Once you see the seedlings emerging (how excitiing!!), you'll need to start watering them regularly. I've found it easiest to water the jugs from the bottom. I set the jugs into a large tray filled with water and let them soak up the water through the bottom drainage holes. It takes a bit longer than trying to water them through the top holes, but it's easier on the seedlings and waters the mix more thoroughly.
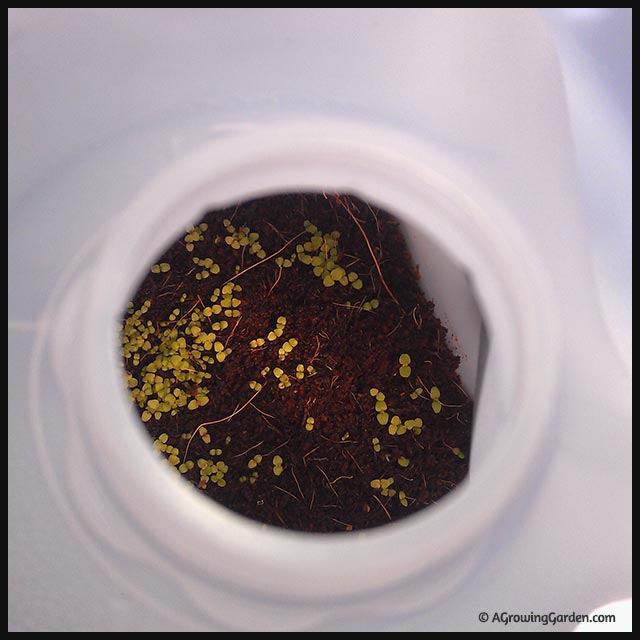
10. Don't let them get too hot! As the weather starts to warm more and more, you may need to open the tops during the day to keep the seedlings from getting too hot in their little greenhouses. It can get pretty warm inside the jugs, so you can regulate the temperature by opening the lids during the day and closing them back up for the night.
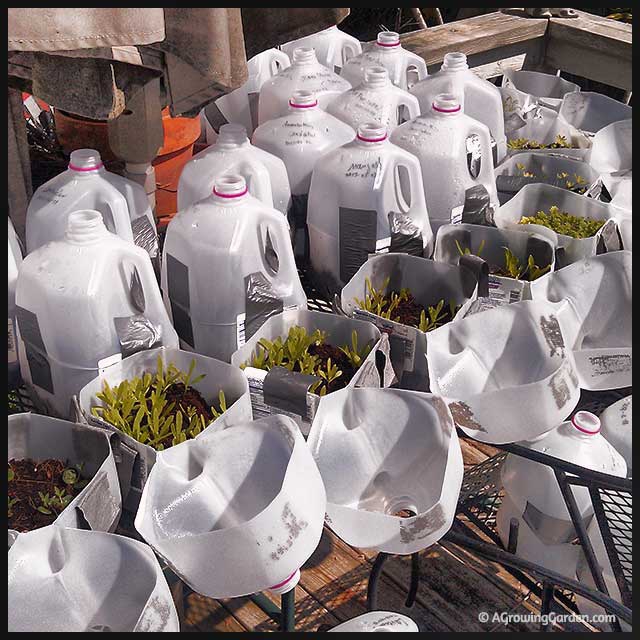
11. Keep an eye on them. Some seedlings will grow more quickly and earlier than others, so you need to keep an eye on each container.
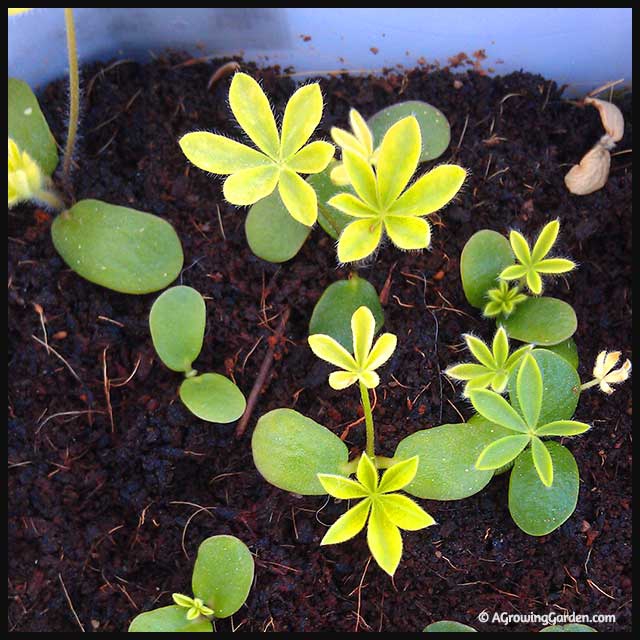
12. Plant the seedlings in your garden! Once the seedlings get large enough, move them into permanent beds.




Join the Conversation!
Horticultural Zone: Fl.
January 4, 2014
Thank you for this. Got me interested in something I had forgotten about.
Reply
January 4, 2014
Happy Gardening Debbie! :-)
January 4, 2014
Thank you so much for this! A great tutorial and the photos are just what I needed. I'm going to try this over the weekend :-)
Reply